Showing posts with label earring tutorial. Show all posts
Thursday, October 2, 2014
Simple Hoop Drop Earrings - DIY Jewelry Tutorial
Simple DIY jewelry tutorial: hoop drop bead dangle earrings even a beginner can make! I had these extra bead caps I got from from The Beadmixer. I wasn't sure what to do with them until I found some large 12mm pearls and Czech glass beads I had in my bead stash. You can find all of the parts you need at The Beadmixer; I've included links to them.
Tools:
Needle nose pliers
Materials:
30mm head pins (about 1 1/4") in bronze
Antique bronze 35 mm hoops
Antique bronze bead caps
12mm beads
Step 1: Take your needle nose pliers and bend the last filigree loop out slightly so the bead will fit just at the end:
Step 2: Add your 12mm bead to the head pin, add the cap, being careful not to scratch your bead. Bend the pin almost 90ยบ ( I just use my fingers), holding onto the filigree so the cap will not open and the bead wont slide further into the cap, take you needle nose pliers and make a loop. Then slide onto the hoop. The 30mm pin should be the perfect length for a loop just big enough to fit onto the hoop.
For more detailed photos on how to make a loop see my previous post: Jewelry Tutorial for Beginners, there is also a link to helpful videos for beginners.
Find these and other handmade earrings in my Etsy store.
For more jewelry tutorials follow my Pinerest board: DIY Jewelry Tutorials
Please let me know if you like this tutorial and other comments are welcomed here!
Sunday, June 1, 2014
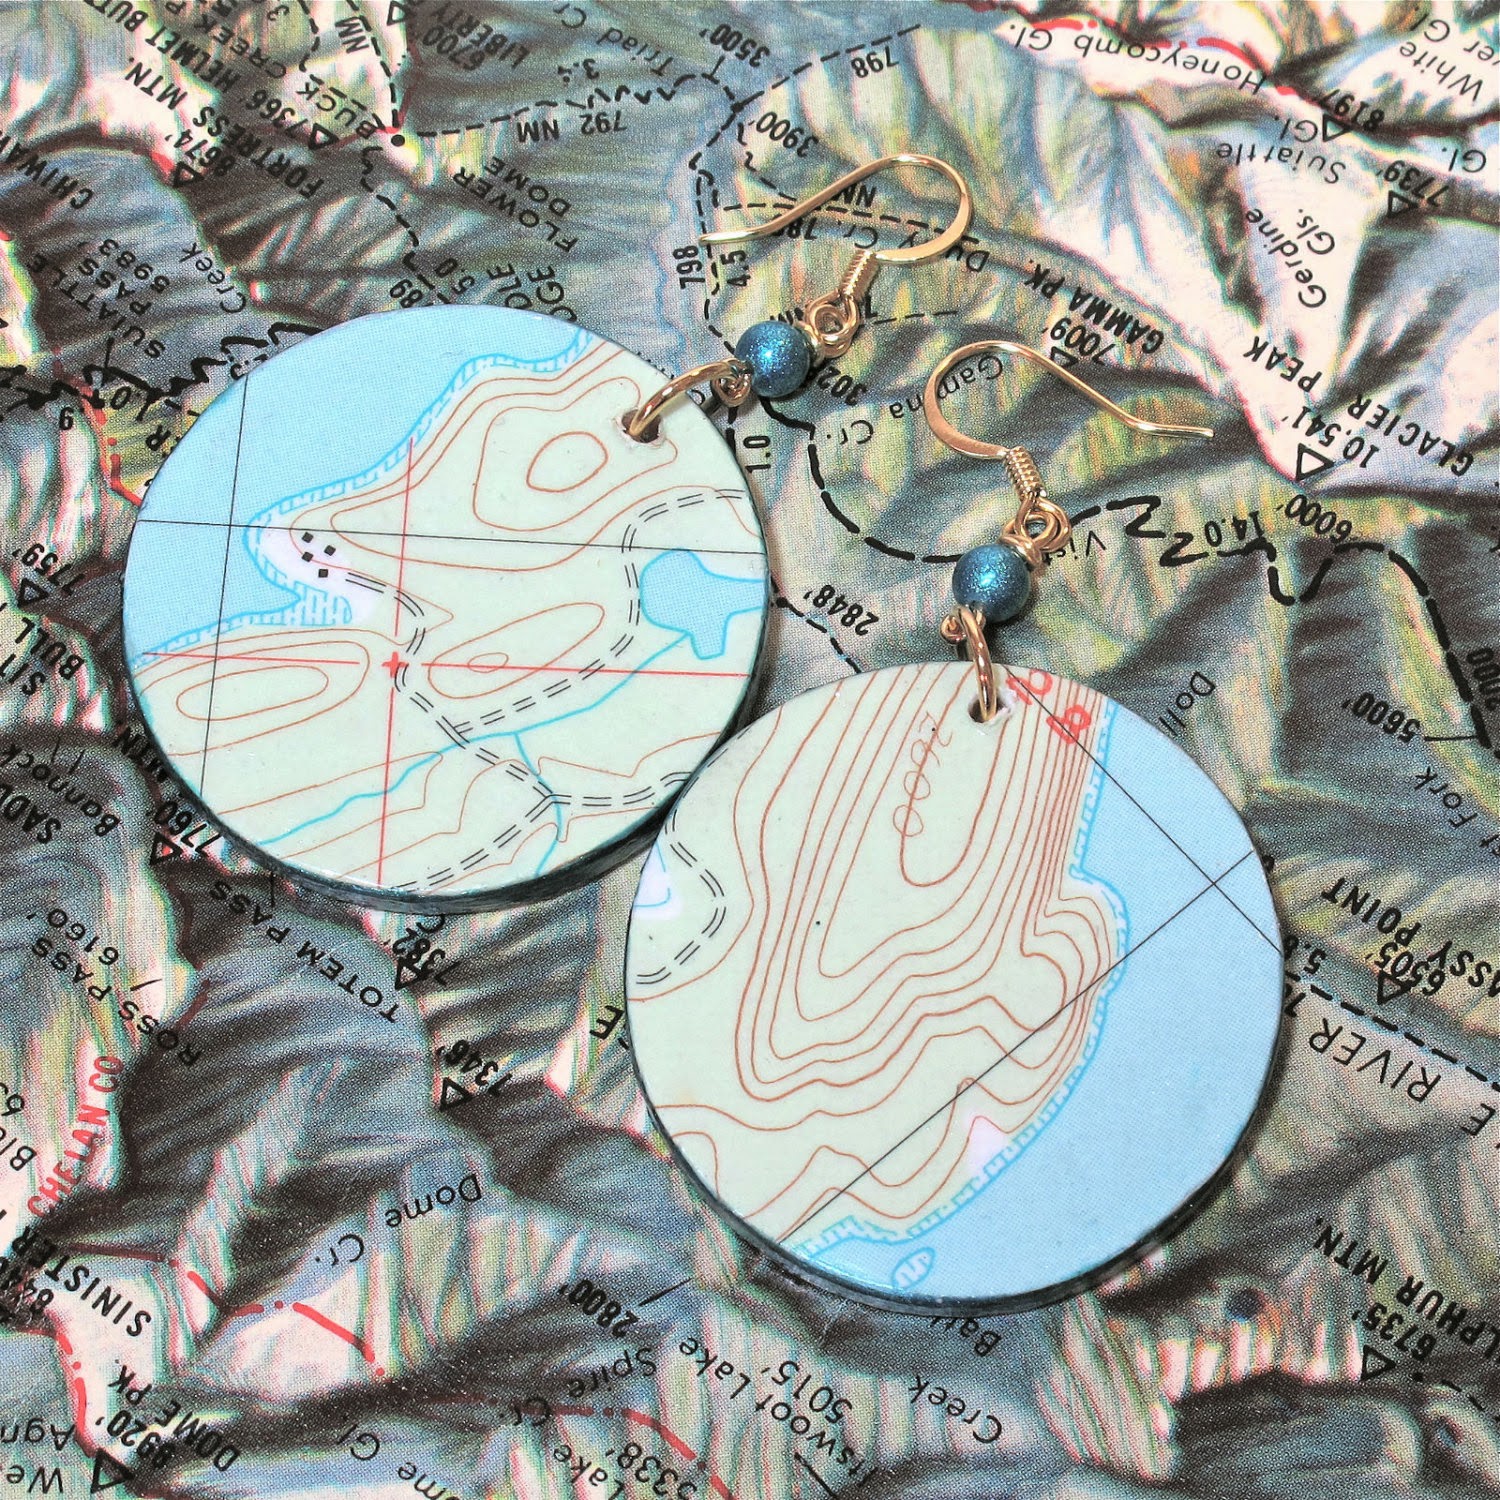
Decoupage Map Earrings - DIY Jewelry Tutorial
![]() |
| Decoupage earrings made from a topography map |
I love maps so I naturally have a pile of old maps that I have collected over the years. I made a decoupaged map mannequin head, made map pen holders and spruced up an old acrylic mixed media painting with maps! Since I am a jeweler, I had to try map jewelry! I had a bunch wood discs left over from another project (you can find these at craft stores or online) These are easy to make but take many steps to complete.
Steps:
1) To prevent warping seal both sides with clear Krylon acrylic spray found in craft or hardware stores. I let them dry overnight. You can color the edges with a Sharpie first!
| Maps ready to be glued to wood discs |
2) Use a paper punch or trace the outline of your discs and cut out your maps.
![]() |
| I use a gloss decoupage glue |
3) Using Mod Podge or any decoupage glue ( I used my Sun and Moon glaze) paint a medium layer onto the disc and place the paper on pressing out any air bubbles, I use an old mouse pad with waxed paper and press! Make sure you clean off the excess along the edges. I let the paper dry about 15 minutes and then do the other side. I let these dry overnight, this makes trimming easier.
4) Trim the paper edges with small sharp scissors. I like to file the edges with a file or fingernail file for a nice clean edge.
5) With a good brush add a light to medium coat of the decoupage glue and repeat 2-3 times waiting 15 minutes or so between coats. If it is humid, you may want to wait longer.
6) Drill holes and hang from ear wires when dry! If you don't want to go through all of these steps just find these map earrings all ready to ship in my Etsy shop! They make great gifts!
![]() |
| map earrings |
![]() | ||
Do you love maps? Do you like these map earrings or do you have other fun ideas that use maps? Comments are welcomed below.
Subscribe to:
Posts (Atom)