Sunday, September 28, 2014

DIY Earrings - Jewelry Tutorial for Beginners

DIY earrings


DIY Bead Dangle Earrings; Beginner Jewelry Tutorial.
I found these gorgeous floral porcelain beads at The Beadmixer so I just had to get them along with all of the findings to make these great bead dangle earrings.  This tutorial should be easy enough for a beginner plus I have a unique tip for even an advanced jeweler! Sometimes it is difficult to figure out online what size bead cap will really work for certain beads so I have links to most all of the bead caps and items used.


Tools:
Needle nose pliers
Flat nose pliers
Wire cutters
X-acto knife
Sharpie

Materials:
18x14mm oval porcelain beads
Ear wires or hoops of your choice
gold flower bead caps
bead caps 8 mm
8-10mm Czech glass beads  (I had these 10mm tangerine beads already)
1" head pins
2" eye pins
Florist tape


Step 1: Add your  8-10mm  Czech glass bead to your 1" head pin  then add the 8mm bead cap and bend the wire almost 90º : (there are many helpful youtube videos)


DIY earring tutorial

Step 2: Take your needle nose pliers and make a loop, you can cut it off here or continue wrapping the wire around and snip the end. Then take your flat nose pliers and squeeze or bend to make the loop straight :


earring tutorial


Step 3: Take your long 2" eye pin, open it up with your flat nose pliers and add the bead dangle and close the loop and straighten out any bends in the pin with your flat nose pliers:


DIY earrings


Step 4: Add the larger flower bead cap then the bead and mark the spot where the bead ends:


large hole bead tips

beading tips


Step 5: Remove the bead and take 3" of florist tape (****this is my trick to keep the large hole beads from wobbling and turning!*** ) starting at the mark, wrap the pin with the tape down towards the bead cap. This does not have to be perfect. Then roll the tape between your fingers to make it tighter and smooth. Then slide the bead on, it should be tight but if it is too tight just squish the tape tighter. Make sure no florist tape is sticking out of the bead cap, if it is just slide the tape up. If the bead is still loose you can add a little more tape at the top and push it in with an X-acto blade:


beading tip
Tip: add florist tape to keep large hole beads from wobbling

large bead hole beading tips
Fill hole with florist tape using a point or X-acto

Step 6: Add either another leaf flower cap or the 8mm bead cap then make another loop to hang your ear wire. Open up your ear wire with flat nose pliers and add the earring and close up the ear wire then make sure the loops are all straight. Hold the earring up and turn the bead so the best side is showing in the front. Repeat for the other earring so you have a gorgeous porcelain bead dangle earring set :

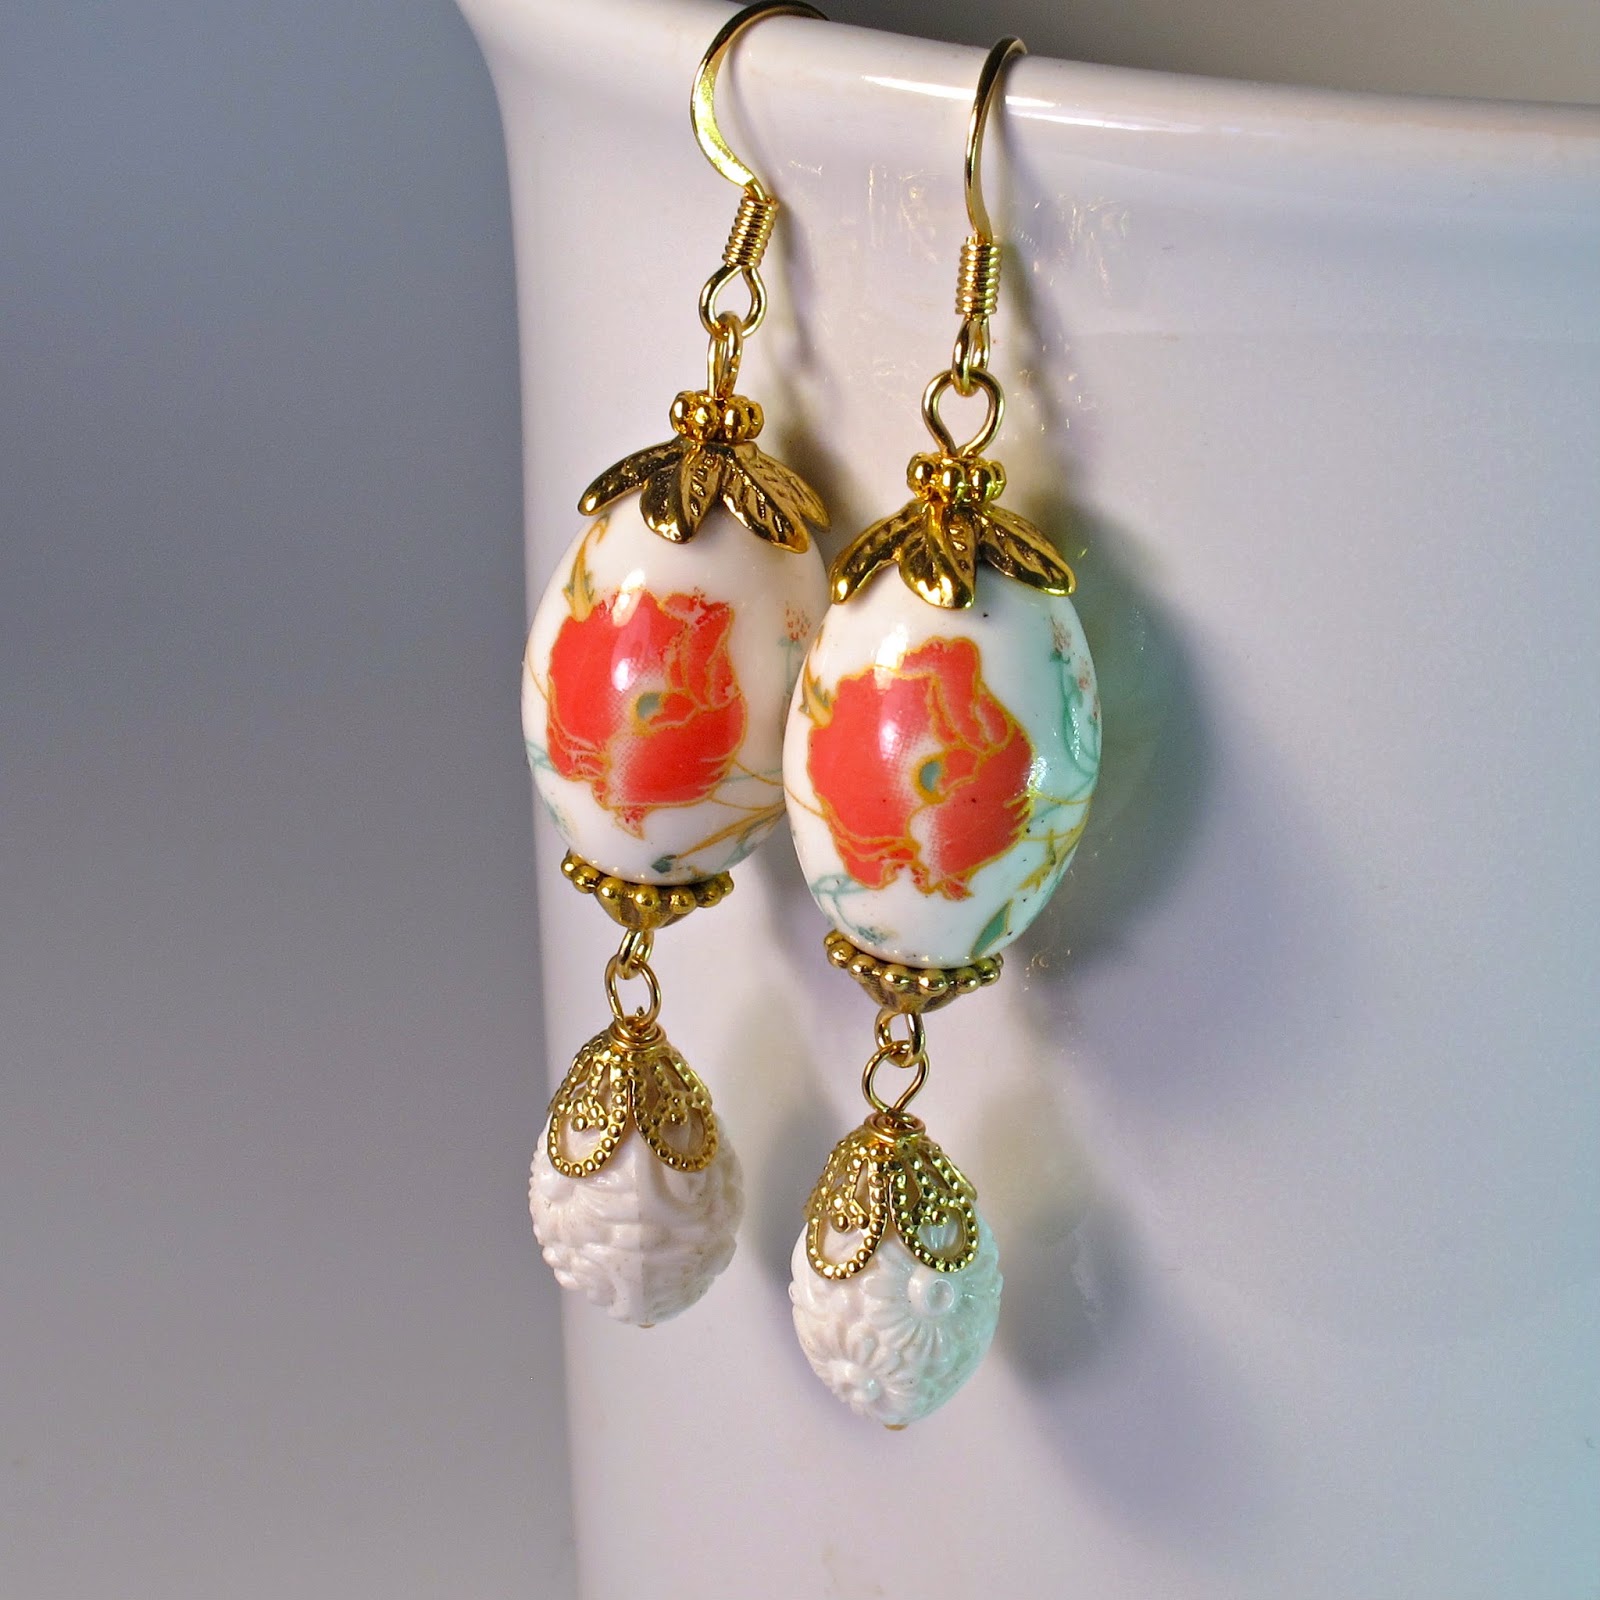
bead dangle earrings


https://www.etsy.com/listing/205100209/dangling-bead-earrings-orange-poppy?ref=shop_home_active_3


bead hoop earrings


flower earrings


Similar purple earrings made with antique bronze findings and beads from The Beadmixer:

8mm bronze bead caps
6mm bronze bead caps
8mm Czech glass beads in purple

Be sure to check out the great selection of porcelain beads at The BeadMixer, there are many more colors and shapes to choose from!


Buy all of these floral earrings and more at BluKatDesign on Etsy.

Follow my Pinterest board for more tutorials:  DIY Jewelry Tutorials


Please let me know how your earrings turn out. Comments welcome!


Saturday, July 12, 2014

Refreshing Lavender Lemonade

lavender lemonade


The weather forecast says 90º in Seattle for this week...yes in Seattle! Here is a refreshing
Lemonade recipe with lavender to cool you off a hot summer day.  I actually prefer lavender leaves to the flowers; the herbaceous camphor like flavor compliments the lemon  and give the drink a super fresh taste instead of a sweet flowery taste. I also love lemonade with mint, rosemary or a combination. You can adapt the recipe easily to use with Crystal Lite or Costco makes a great lemonade you can add the herbal mixture to! I like to add berries for color.


 Lavender Lemonade

6-8 sprigs lavender flowers with stems
1 1/2 cups boiling water
3/4–1 cup white sugar (depending on desired sweetness)
Handful of blueberries or raspberries for color if desired
10 lemons
2 Tbsp. water
6 cups cold water
Ice

Place lavender and berries in a bowl,  pour boiling water over and steep for 5 minutes. Strain the lavender, stir the sugar into the lavender water to dissolve, then pour into a pitcher over ice. Add freshly squeezed lemon juice into the pitcher, add cold water and stir.  Adjust sweetness and lemon strength accordingly. Garnish with a few fresh lavender sprigs, a berry and enjoy!


herbal lemonade


Do you have a favorite lemonade recipe? Comments welcomed :)

Friday, June 27, 2014

Handmade Button Jewelry by BluKatDesign on Etsy

Handmade button jewelry


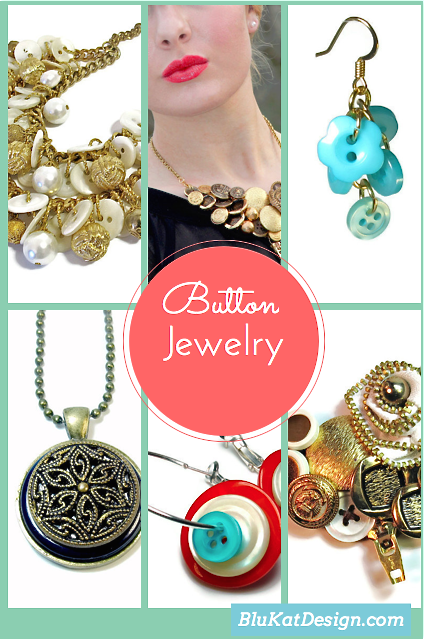
Who doesn't love buttons? I love both vintage and modern buttons and have a collection of both! They are perfect little jewels to repurpose and add to necklaces, earrings or even magnets! From a chunky statement necklace made with vintage mother of pearl buttons to modern hoop earrings or dangling button cluster earrings, you will find a wide variety of unique colorful upcycled button jewelry at BluKatDesign on Etsy!

Modern Button Hoop Earrings

vintage button pendants
Repurposed Vintage Button Pendants


button statement necklace
Vintage Button Statement Necklace with Zipper Flower


Vintage Inspired Passionista
Vintage Inspired Passionista with  BluKatDesign Upcycled Button Earrings


button cluster earrings
Dangling Button Cluster Earrings


stacked button earrings
Stacked Button Dangle Earrings


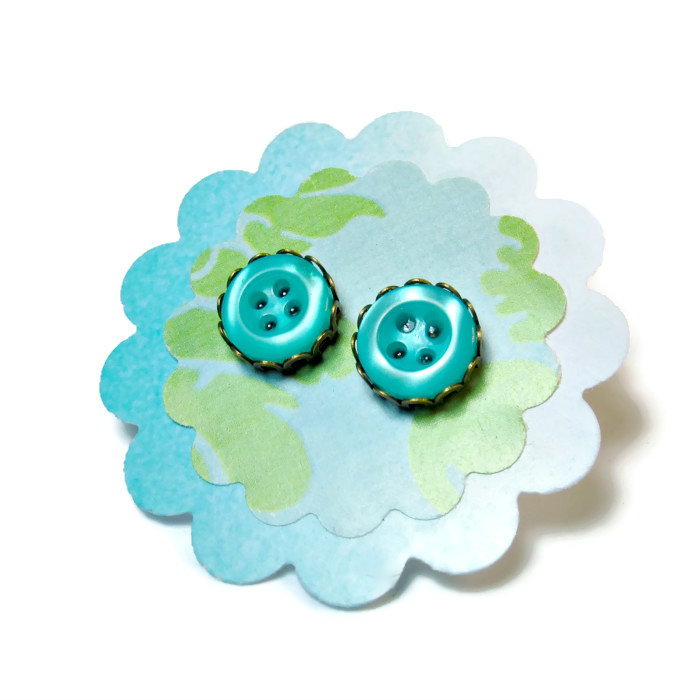
button stud earrings
Button Stud Earrings

chunky button necklace
Chunky Vintage Mother of Pearl Button Necklace


button dangle earrings
This is me wearing one of my favorite pairs of button earrings!


button magnets
Button Magnets


vintage button jewelry


Be sure to like The Vintage Inspired Passionista Blog on Facebook!

For more upcycled button jewelry follow my Pinterest board: Button Jewelry


Saturday, June 14, 2014

Handmade Packaging: Recycled and Repurposed Gift Boxes

packaging ideas

Handmade packaging: Recycled and Repurposed Gift Boxes: Simple, affordable and fun gift wrapping or packaging ideas. I get my boxes and ribbons from Nashville Wraps, it is a huge online store full of items for packaging and gifts for individuals or businesses, it is well worth the time to take a look at their store! I needed an easy and affordable way to package my handmade jewelry that could be sent in bubble mailers without getting smashed. Their recycled Kraft boxes are perfect!


gift wrap
Upcycled packaging for Christmas

christmas gift wapping


The "bows" are flower punches is assorted sizes. I upcycle all of my Christmas cards, birthday cards, Nordstrom catalogs, magazines, sheet music, wrapping paper and scrap papers. I use saved ribbons, raffia and I found yarn that looks like baker's twine for less than half of the cost at my local craft store!


jewelry packaging


upcycled packaging

If you buy jewelry or gifts from my Etsy store you will get a colorful box, usually with my yellow flower logo, perfect for gift giving!

 For more packaging ideas please follow my Pinterest board: Creative Gift Wrap Ideas

If you have any great packaging ideas or comments please list them below!

Friday, June 6, 2014

DIY Decoupage Gold Embossed Wood Disc Earrings

decoupage earrings


DIY Decoupage art jewelry earrings with gold embossing.  I had a bunch wood discs left over from another project so I thought what better way to use them up along with my scrap decoupage paper. 
I used my Sun and Moon Glaze for the decoupage glue but you can use Mod Podge. It has been years since I've done any stamping so this was an experiment. I found this cool stamp at JoAnn's; most stamps are too big for jewelry but I thought I could use sections of it. I also grabbed a Perfect Pearls embossing kit hoping this would work:


I had no idea if my idea was going to work, I googled but couldn't find any info on how to make the Perfect Pearls permanent for jewelry.  I've used powders on poly clay but not stamped! When my decoupaged discs were dry I just took the Perfect Medium, a clear but sticky "ink",  and patted it onto an area of my stamp. I then carefully pressed the disc onto the stamp without moving or smudging, then lifted it off.  At this point you can't see a thing but then I took the bigger soft brush that came with my kit and patted on a little of the Perfect Pearls gold powder, brushed it off and like magic the gold letters appeared:


So that looked great... but I've never had luck with sealing metallic paints; Krylon spray would cause things to run or the shimmer would go away so I was a bit nervous. I found in my closet, a sealer by Speedball made for gold leaf so I thought I would give it a try:

sealing gold embossed jewelry

I thought maybe three very LIGHT coats may do the job and just maybe the gold wont run. So I  sprayed.....and a big blob of spray came out!!! Sure it was old and was in my closet for years!  I thought I ruined my earrings but I continued to spray the big blobs until everything looked evenly coated.  Okay,  they didn't run but will they become a goopy mess? Maybe the glaze and this spray aren't compatible like what usually happens to me so I left them to dry. I went back and checked them after maybe twenty minutes and they were completely rock hard and dry!  I will getting more of this spray sealer!  I drilled the holes, added some beads and earring wires and what do you think? I may make more! If you don't want to take all of the time to make these you can find them in my Etsy shop: (just click on the photo below)


decoupage earrings


See my other Decoupage Earrings DIY using old maps!

For more DIY jewelry tutorials follow my Pinterest board: DIY Jewelry Tutorials


If you have any crafts,  decoupage or gold embossing tips let us know! All comments are welcomed below:

Thursday, June 5, 2014

DIY Duct Tape Earrings

duct tape crafts


Simple DIY Duct Tape Earrings
I've been on a decoupage kick lately but with all the layers of paper and glaze and more glaze and waiting for glaze to dry and waiting.... I wanted something quick! Then it came to me....duct tape!


duct tape earrings


 I have a bunch of these 1 1/2" wood discs that I need to use up. (you can find them in craft stores but I got mine online)  I first took a sharpie to the rims then sealed the entire disc with clear Krylon acrylic spray so they wouldn't warp and let dry.

DIY earrings
Use sharpies or nail polish to paint the rims!

 I tore off a small piece of duct tape or Duck Tape they call it and... BAM!  I pressed the duct tape on the disc then took a small sharp pair of scissors and trimmed. Even though it gets sticky, it was fairly easy to get a nice neat edge. I rubbed the edges on a dry towel to seal and to get the sticky stuff off and cleaned the residue off with rubbing alcohol. I drilled holes in my discs but you can use a thumb tack to make a hole, the wood is soft enough. Add some beads and ear wires for some really cool earrings!


duct tape crafts
Duck tape crafts


duct tape earrings

duct tape jewelry
Find these duct tape earrings in my Etsy shop!


 If you  like the look of these colorful earrings but don't want to make them yourself check out my duct tape earrings in my Etsy shop!

Be sure to follow my Pinertest board: DIY Jewelry Tutorials for more fun jewelry making ideas!


What do you think? Have you taken part in the duct tape crafting craze yet? Comments welcomed!